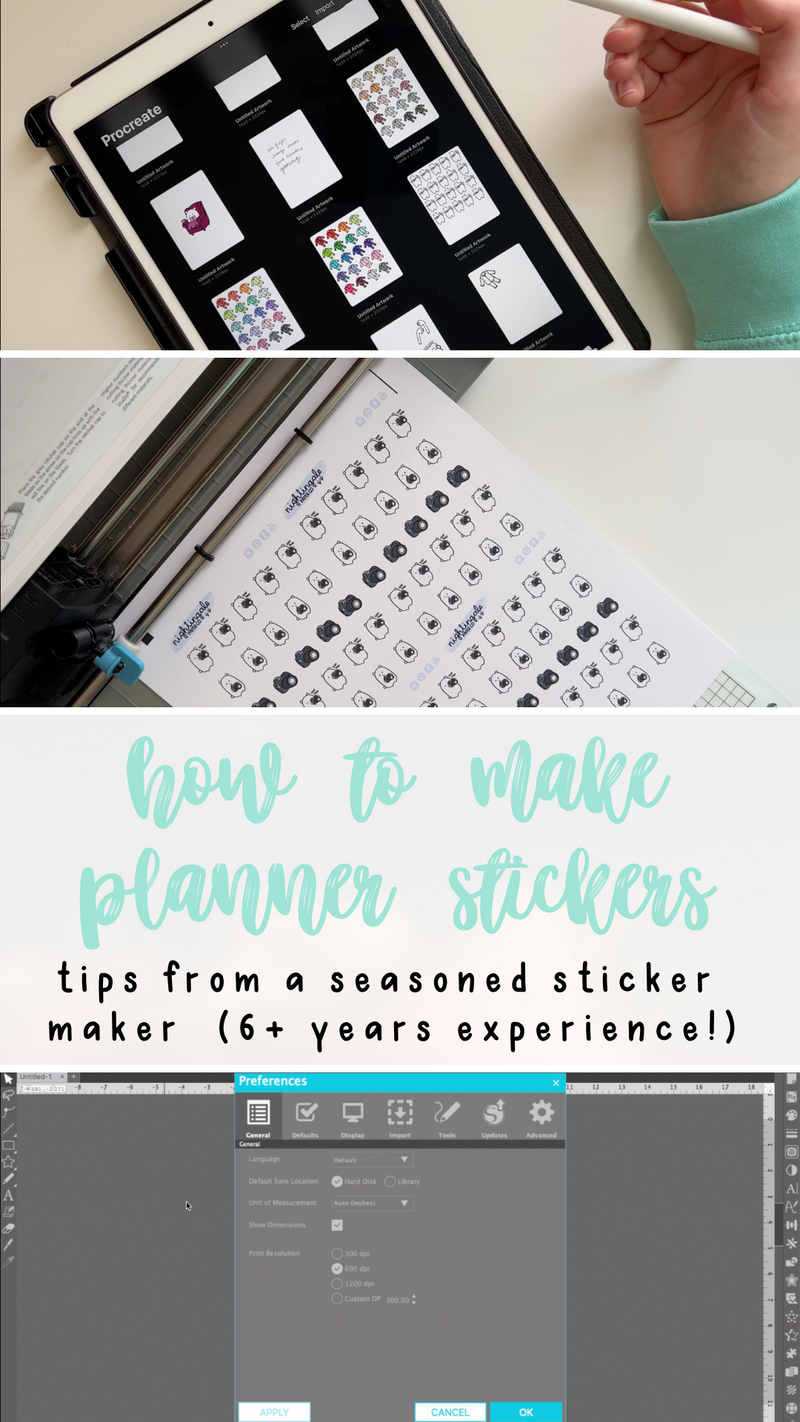
How to Make Planner Stickers: A Complete Guide
Posted on January 26 2022

Hi everyone! Today's post is going to focus completely on how I make my planner stickers. I'll share everything with you, from software I use to troubleshooting advice. I hope you'll find this article very helpful! If you have any questions about anything, please feel free to comment them below :)
Also, if you're interested, I have a YouTube video on this topic where I go more in-depth and share some screen recordings to help with explanations. Check it out below!
Disclaimer: This post contains affiliate links. As an Amazon Associate I earn from qualifying purchases.
First, let me tell you about some of the essential products I use to make stickers for my own business. I draw my stickers on an iPad Pro using an Apple Pencil and the app Procreate. This app is not free, but it is one of the BEST investments I ever made for my business. It has an incredible amount of features and, besides that, it's just fun to use!
However, you don't need to draw your own art to make stickers. You can purchase it from other artists or download it from royalty free websites. The choice is yours!
I design my stickers in Silhouette Studio and cut them on Silhouette Portraits. Silhouette Studio is a free program and can be downloaded by anyone from the Silhouette website.
Now, into the actual process!
How to Use Silhouette Studio to Make Stickers
Once I have my design drawn, I import it from my iPad to Silhouette Studio. Then there are several steps I take to create actual stickers:
- Trace and detach my designs to remove the white background and create clean edges for offsets
- Resize to appropriate sticker size (my Winstons are usually between .5" and .5")
- Offset to create a white border and near cut line
- Arrange on the sheet so I can fit as many stickers as possible for you!
What Printer is Best for Making Planner Stickers?
Once the sticker sheet is designed, it's time to print! Now, I get lots of questions about what printer I use, so I will tell you a secret: your printer doesn't matter.
No, I'm serious! When I first started making stickers I used a $50 printer that I had bought way back when I was in college. It worked great! How's that, you ask? Because the quality of your stickers isn't determined by your printer: it's determined by your sticker paper!
If you buy low-quality sticker paper, your designs will look low-quality, even with a nice printer. If you buy high-quality sticker paper, your designs will look high-quality, even with a budget printer. I should know - for the first 2+ years I ran Nightingale Paper Co, I only used budget printers, but because I used good sticker paper, my stickers looked great!
What Sticker Paper is Best for Making Planner Stickers?
There are lots of options for sticker paper. If you are just starting making stickers I DO highly recommend you start with some cheap sticker paper, because you are going to make lots of mistakes (it's just the nature of learning something new!). The cheapest sticker paper I've ever found is from Digiorange and, honestly, the quality isn't that bad. I've purchased from shops who use this paper and never had an issue.
If you want more options for sticker paper, you can check out websites like SheetLabels or OnlineLabels. They have TONS of options! By the way, if you're looking for "unicorn" sticker paper with that super soft feet, it's the weatherproof labels from OnlineLabels. ;)
What Printer is Best for Making Planner Stickers?
For printer recommendations, I love Brother products. I currently use an Epson Ecotank and also really like it! I would steer clear of HP printers. In my experience, they have the worst print quality.
How to Cut Planner Stickers with a Silhouette Portrait
Once you have your stickers printed, place them on your cutting mat and load it into the machine. You will have to fiddle around a bit to get your cut settings right. Try just cutting one sticker at a time until you find the right blade depth. I always put my speed on 10, so my stickers cut as fast as possible, but if you're cutting something with lots of small details you will want to slow your machine down a bit.
Silhouettes can be pretty loud when they cut. Sit as far away from them as you can, or, like me, wear noise canceling headphones!
When removing your stickers from your cutting mat, pull very gently and slowly. New mats are super sticky and can rip the paper.
Then, there you have it! A freshly cut sheet of stickers all ready for your planner! That wasn't so hard now, was it?! ;)
Bits and Bobs
- Always keep an extra blade and mat on hand at all times. You never know when you might need one! It's especially bad to cut with a dull blade - it will give your stickers ragged edges!
- Mats lose their stickiness over time. You can use spray glue to make them sticky again, or just attach your sheets to the mat with washi tape.
- Silhouettes have a mind of their own, and sometimes they can be temperamental. If your Silhouette is badly misbehaving, unplug it entirely and leave it alone for about half an hour. You can also try stroking it soothingly and whispering sweeting nothings in its ear.
If you have any questions or comments, please feel free to leave them below!
Good luck with all your sticker making adventures!
❤️ Amber
0 comments